2022-07-01
KVM简介:
KVM(Kernel-Based Virtual Machines)是一个基于Linux内核的虚拟化技术, 可以直接将Linux内核转换为Hypervisor(系统管理程序)从而使得Linux内核能够直接管理虚拟机, 直接调用Linux内核中的内存管理、进程管理子系统来管理虚拟机
二 安装KVM
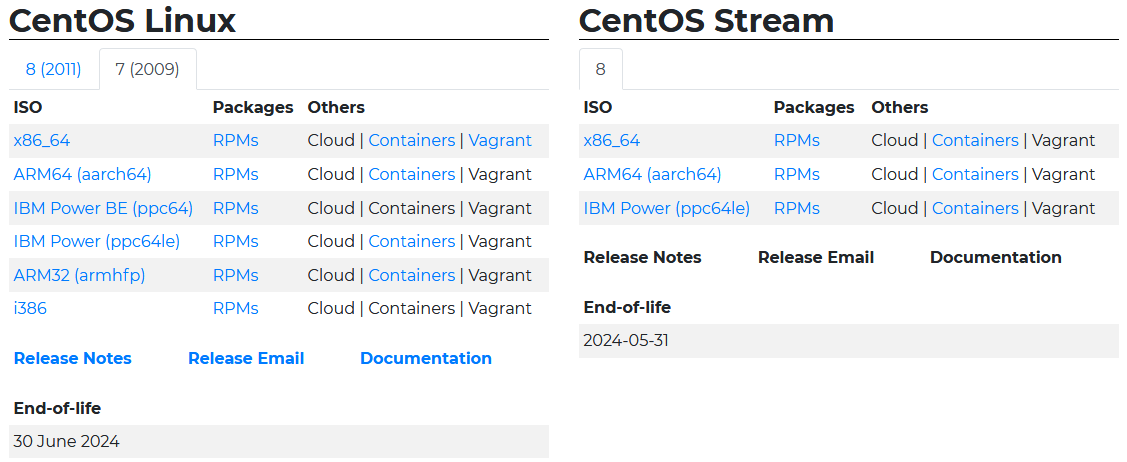
提前准备下载:
2.1.1 检查系统是否支持虚拟化(可在bios开启)
[root@centos7 ~]# cat /proc/cpuinfo | grep -E '(vmx|svm)'
flags        : fpu vme de pse tsc msr pae mce cx8 apic sep mtrr pge mca cmov pat pse36 clflush mmx fxsr sse sse2 ss syscall nx pdpe1gb rdtscp lm constant_tsc arch_perfmon nopl xtopology tsc_reliable nonstop_tsc eagerfpu pni pclmulqdq vmx ssse3 fma cx16 pcid sse4_1 sse4_2 x2apic movbe popcnt tsc_deadline_timer aes xsave avx f16c rdrand hypervisor lahf_lm abm 3dnowprefetch tpr_shadow vnmi ept vpid fsgsbase tsc_adjust bmi1 avx2 smep bmi2 invpcid mpx rdseed adx smap clflushopt xsaveopt xsavec arat
flags        : fpu vme de pse tsc msr pae mce cx8 apic sep mtrr pge mca cmov pat pse36 clflush mmx fxsr sse sse2 ss syscall nx pdpe1gb rdtscp lm constant_tsc arch_perfmon nopl xtopology tsc_reliable nonstop_tsc eagerfpu pni pclmulqdq vmx ssse3 fma cx16 pcid sse4_1 sse4_2 x2apic movbe popcnt tsc_deadline_timer aes xsave avx f16c rdrand hypervisor lahf_lm abm 3dnowprefetch tpr_shadow vnmi ept vpid fsgsbase tsc_adjust bmi1 avx2 smep bmi2 invpcid mpx rdseed adx smap clflushopt xsaveopt xsavec arat
2.1.2 安装所需插件
[root@centos7 ~]# yum -y install qemu-kvm libvirt virt-install
2.1.3 启动libvirtd
[root@centos7 ~]# systemctl start libvirtd
[root@centos7 ~]# systemctl status libvirtd
● libvirtd.service - Virtualization daemon
   Loaded: loaded (/usr/lib/systemd/system/libvirtd.service; enabled; vendor preset: enabled)
   Active: active (running) since 四 2018-09-06 11:01:34 CST; 3h 38min ago
2.1.4创建raw格式磁盘,(提前上传iso文件到服务器自定目录即可)
[root@centos7 opt]# qemu-img create -f raw /kvmimg/CentOS-7-x86_64.raw 10G
Formatting '/kvmimg/CentOS-7-x86_64.raw', fmt=raw size=10737418240
[root@centos7 opt]# ls -l /kvmimg/CentOS-7-x86_64.raw
-rw-r--r-- 1 root root 10737418240 9月   6 12:16 /kvmimg/CentOS-7-x86_64.raw
2.1.4 创建一个虚拟机 类型:kvm 名称:CentOS-7-86_64 指定cpu:2 内存:1024 指定安装盘路径 指定磁盘文件 指定网络:default 启用vmc监听本机0.0.0.0不要自动尝试连接到客户端控制台
[root@centos7 opt]# virt-install –virt-type kvm –name CentOS-7-86_64 –ram 1024 –vcpus 2 –cdrom=/opt/CentOS-7-x86_64-DVD-1708.iso –disk path=/kvmimg/CentOS-7-x86_64.raw –network network=default –graphics vnc,listen=0.0.0.0 –noautoconsole
开始安装……
域安装仍在进行。您可以重新连接
到控制台以便完成安装进程。
2.1.5 使用vnc客户端安装系统
按照步骤安装就好,最后重启
客户端查看
[root@centos7 ~]# virsh list --all
 Id    名称                         状态
----------------------------------------------------
 -     CentOS-7-1-86_64               关闭
[root@centos7 ~]# virsh start CentOS-7-1-86_64
域 CentOS-7-1-86_64 已开始
[root@centos7 ~]# virsh list
 Id    名称                         状态
----------------------------------------------------
 2     CentOS-7-1-86_64               running
KVM管理篇
KVm管理基于libvirtd软件实现
#列出虚拟机
[root@centos7 ~]# virsh list --all
#启动虚拟机
[root@centos7 ~]# virsh start Centos7
#停止虚拟机(可能需要安装 acpi 服务)
[root@centos7 ~]# virsh shutdown Centos7
#备份虚拟机(如果磁盘删除了就不能恢复了)
[root@centos7 ~]# virsh dumpxml Centos7 > /centos7-back.xml
#删除虚拟机(需要在删除磁盘文件)
[root@centos7 ~]# virsh undefine Centos7
#删除恢复虚拟机要提前dumoxml备份
[root@centos7 ~]# virsh define /centos7-back.xml
#暂停挂起
[root@centos7 ~]# virsh suspend Centos7
#恢复
[root@centos7 ~]# virsh resume Centos7
#修改配置文件
[root@centos7 ~]# virsh edit Centos7
创建一个桥接网卡
[root@centos7 ~]# rpm -q bridge-utils
bridge-utils-1.5-9.el7.x86_64
#创建一个br0桥接网卡
[root@centos7 ~]# brctl addbr br0
[root@centos7 ~]# brctl show
bridge name    bridge id        STP enabled    interfaces
br0        8000.000000000000    no
virbr0        8000.52540088b297    yes        virbr0-nic
                            vnet0
#br0网卡绑定在本地网卡上(此操作ssh会断链,如果用ssh连接可以写成脚本执行)
[root@centos7 ~]# brctl addif br0 ens33
[root@centos7 ~]# brctl show
bridge name    bridge id        STP enabled    interfaces
br0        8000.000c29e23300    no        ens33
virbr0        8000.52540088b297    yes        virbr0-nic
                            vnet0
[root@centos7 ~]# ip addr del eth0 192.168.10.252/24
Error: any valid prefix is expected rather than "eth0".
[root@centos7 ~]# brctl show
bridge name    bridge id        STP enabled    interfaces
br0        8000.000c29e23300    no        ens33
virbr0        8000.52540088b297    yes        virbr0-nic
                            vnet0
#删除ens33网卡地址
[root@centos7 ~]# ip addr del dev ens33 192.168.10.252/24
#配置br0网络信息,并启动
[root@centos7 ~]# ifconfig br0 192.168.10.252/24 up
[root@centos7 ~]# route add default gw 192.168.10.1
修改KVm虚拟机为桥接网卡
#自动生成的xml文件,虚拟机相关配置
/etc/libvirt/qemu/CentOS-7-1-86_64.xml
#修改配置
[root@centos7 ~]# virsh edit CentOS-7-1-86_64
<interface type='network'>
修改为:<interface type='bridge'>
<source network='default'/>
修改为:<source bridge='br0'/>
#启动虚拟机
[root@centos7 ~]# virsh list --all
 Id    名称                         状态
----------------------------------------------------
 -     CentOS-7-1-86_64               关闭
[root@centos7 ~]# virsh start CentOS-7-1-86_64
域 CentOS-7-1-86_64 已开始
#设置CPU动态扩容
[root@centos7 ~]# virsh edit CentOS-7-1-86_64
  <vcpu placement='static'>1
#修改为动态扩容,当前一个cpu最大四个cpu
  <vcpu placement='auto' current="1">4
[root@centos7 ~]# virsh setvcpus CentOS-7-1-86_64 3 --live
[root@centos7 ~]# virsh dominfo CentOS-7-1-86_64
Id:             4
名称:       CentOS-7-1-86_64
UUID:           d9f7da32-6b1a-4f1d-b5f1-a5cf1f148f79
OS 类型:    hvm
状态:       running
CPU:          3
CPU 时间:   37.5s
最大内存: 1048576 KiB
使用的内存: 1048576 KiB
持久:       是
自动启动: 禁用
管理的保存: 否
安全性模式: none
安全性 DOI: 0
#cpu删除
[root@centos7 ~]# virsh setvcpus --config CentOS-7-1-86_64
1
[root@centos7 ~]# virsh destroy CentOS-7-1-86_64
域 CentOS-7-1-86_64 被删除
[root@centos7 ~]# virsh start CentOS-7-1-86_64
域 CentOS-7-1-86_64 已开始
[root@centos7 ~]# virsh dominfo CentOS-7-1-86_64
Id:             7
名称:       CentOS-7-1-86_64
UUID:           d9f7da32-6b1a-4f1d-b5f1-a5cf1f148f79
OS 类型:    hvm
状态:       running
CPU:          1
CPU 时间:   4.3s
最大内存: 1048576 KiB
使用的内存: 1048576 KiB
持久:       是
自动启动: 禁用
管理的保存: 否
安全性模式: none
安全性 DOI: 0
#设置内存扩容
[root@centos7 ~]# virsh edit CentOS-7-1-86_64
  <memory unit='KiB'>1048576
修改为:
  <memory unit='KiB'>4048576
#当前内存
1048576
[root@centos7 ~]# virsh shutdown CentOS-7-1-86_64
域 CentOS-7-1-86_64 被关闭
[root@centos7 ~]# virsh start CentOS-7-1-86_64
域 CentOS-7-1-86_64 已开始
[root@centos7 ~]# virsh dominfo CentOS-7-1-86_64
Id:             10
名称:       CentOS-7-1-86_64
UUID:           d9f7da32-6b1a-4f1d-b5f1-a5cf1f148f79
OS 类型:    hvm
状态:       running
CPU:          1
CPU 时间:   42.2s
最大内存: 4048576 KiB
使用的内存: 4048576 KiB
持久:       是
自动启动: 禁用
管理的保存: 否
安全性模式: none
安全性 DOI: 0
[root@centos7 ~]# virsh qemu-monitor-command CentOS-7-1-86_64 --hmp --cmd info balloon
[root@centos7 ~]# virsh qemu-monitor-command CentOS-7-1-86_64 --hmp --cmd balloon 512
#kvm磁盘
IMB文章地址:
qcow2 镜像格式是 QEMU 模拟器支持的一种磁盘镜像。它也是可以用一个文件的形式来表示一块固定大小的块设备磁盘。与普通的 raw 格式的镜像相比,有以下特性:
更小的空间占用,即使文件系统不支持空洞(holes);支持写时拷贝(COW, copy-on-write),镜像文件只反映底层磁盘的变化;支持快照(snapshot),镜像文件能够包含多个快照的历史;可选择基于 zlib 的压缩方式可以选择 AES 加密
#创建一个qcow2磁盘镜像
[root@centos7 kvmimg]# qemu-img create -f qcow2 test1.qcow2 10G
Formatting 'test1.qcow2', fmt=qcow2 size=10737418240 encryption=off cluster_size=65536 lazy_refcounts=off
#raw转换为qcow2磁盘镜像
#转换前磁盘信息
[root@centos7 kvmimg]# ls -lh Centos-7.1.raw
-rw-r--r-- 1 qemu qemu 10G 9月  10 13:08 Centos-7.1.raw
[root@centos7 kvmimg]# qemu-img info Centos-7.1.raw
image: Centos-7.1.raw
file format: raw
virtual size: 10G (10737418240 bytes)
disk size: 1.4G
#进行转换
[root@centos7 kvmimg]# qemu-img convert -f raw -O qcow2 Centos-7.1.raw test.qcow2
#转换后
[root@centos7 kvmimg]# ls -lh test.qcow2
-rw-r--r-- 1 root root 1.5G 9月  10 13:14 test.qcow2
[root@centos7 kvmimg]# qemu-img info test.qcow2
image: test.qcow2
file format: qcow2
virtual size: 10G (10737418240 bytes)
disk size: 3.0G
cluster_size: 65536
Format specific information:
    compat: 1.1
    lazy refcounts: false
#创建快照qcow2
[root@centos7 kvmimg]# virsh list --all
 Id    名称                         状态
----------------------------------------------------
 12    CentOS-7-1-86_64               running
 -     Centos7                        关闭
[root@centos7 kvmimg]# virsh snapshot-create-as --domain Centos7 --name Centos7-1
#查看快照
virsh snapshot-list –domain Centos7
快照回滚:virsh snapshot-revert --domain Centos7 --snapshotname Centos7-1
快照删除:virsh snapshot-delete --domain Centos7 --snapshotname Centos7-1
分类:
技术点:
相关文章:


![[原] KVM 环境下MySQL性能对比-唐朝资源网](https://images.43s.cn/wp-content/uploads/2022/06/9784fa8d2f71.webp)


暂无评论内容